Click Any Image Below for a Larger View

Startup


  • Turn on the Live Stream PC Monitor by pressing the center 4-way toggle button on the bottom center of the monitor.
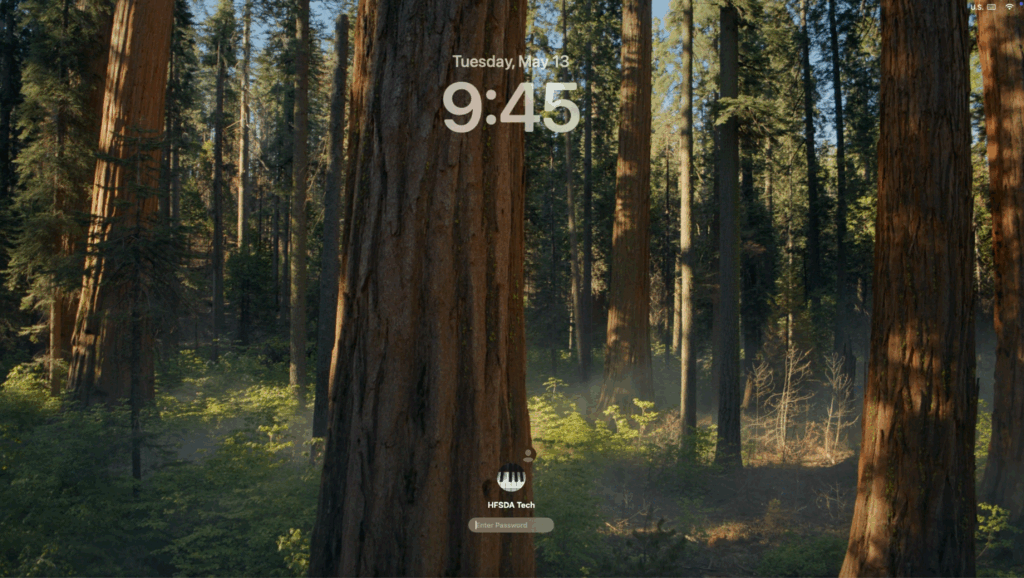
  • Sign in to MacOS (if you do not have access, request it from your AV Leader)

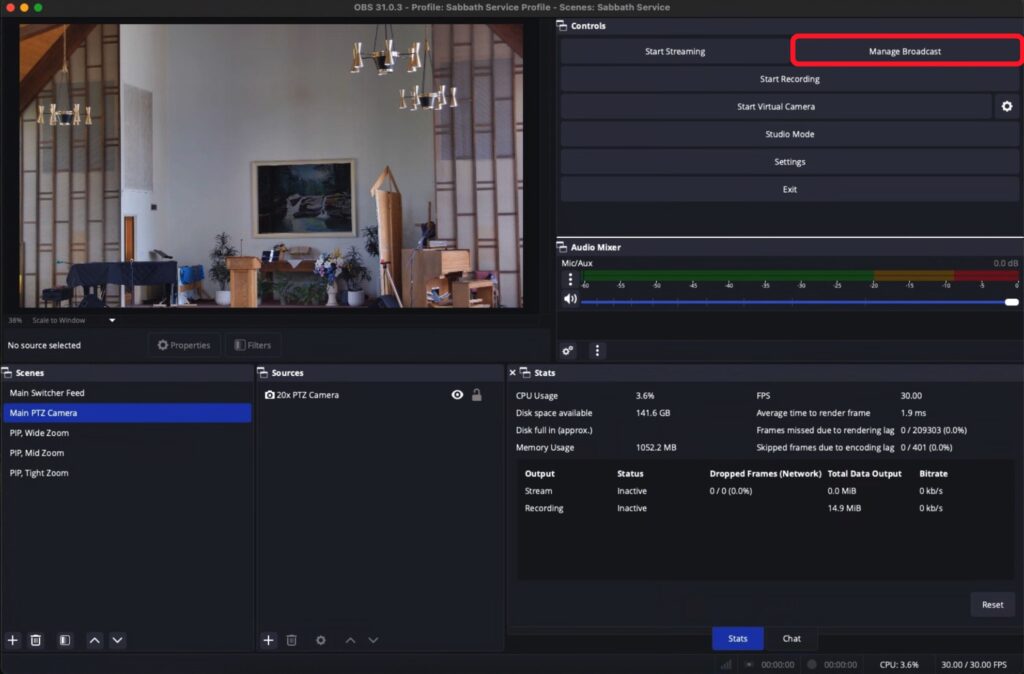
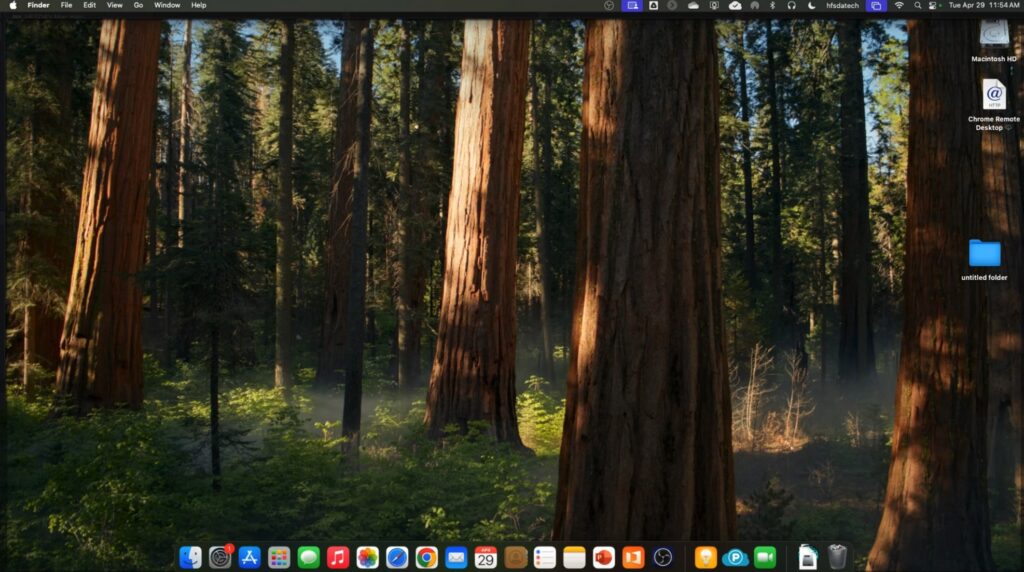
  • On the Live Stream Mac Mini, launch OBS Studio

  • Select “Main Switcher Feed” in the “Scenes” panel
  • Click “Manage Broadcast” in the “Controls” Panel

  • Replace the template information with the names and titles for the current stream
  • Verify that it is not made for kids (if this setting is wrong, the stream will not allow the chat function)
  • Click “Create Broadcast and Start Streaming”
  • Optional: If the speaker is a “regular”, open the pre-made thumbnail from the OneDrive Visuals folder called “_Speaker Photos”. Otherwise, capture a photo during the service for the thumbnail, and use the “No Speaker Photo Available” thumbnail initially.

  • Click “Start Recording” to make a local backup recording of the service

  • Make sure that Mic/Aux is the only audio source

During the Service


  • The tablet next to the stream video switcher can be used to change scenes in OBS Studio while streaming. The available scenes are:

  • Main Switcher Feed – This is the output that the switcher is currently showing.

  • Main PTZ Camera – The main streaming camera with a full-width view of the platform, piano, organ, and projection wall.

  • PIP, Wide Zoom – The main streaming camera with a full-width view of the platform, piano, organ, and an overlay of the current slide.

  • PIP, Mid Zoom – The second streaming camera with a view of the portion of the platform where a speaker might walk, and a smaller overlay of the current slide in the upper left.

  • PIP, Tight Zoom – The third streaming camera with a close-up view of the podium on the right, and an overlay of the current slide in the upper left.

  • During the service, monitor the audio meters in the audio mixer panel for indications of:
    • Adequate or over-driven volume
    • The Mic/Aux is the only audio source

Using the four input source buttons:
  • Camera directly in front of the operator.
  • PTZ camera on left edge of AV booth.
  • Current slide from ProPresenter.
  • Can display any source from the Video Matrix Switch.
Button Colors:
  • Red = The current source that is being sent to the live stream.
  • Flashing Green = The source that will be sent to the live stream when the T-Bar is toggled.

Operator Display
  • The Operator Display provides views for:
    • Thumbnails of all sources at the. bottom
    • The Preview of the next source chosen when the T-Bar is operated (PST)
    • The current output source (PGM

Switching between sources:
  • Press the source button you wish to switch to. It should begin flashing green.

Shutdown


Switching between sources:
  • Press the source button you wish to switch to. It should begin flashing green.
  • Slide the T-Bar to the opposite side and the new source will cross-fade to replace the last one on the live stream.

Additional Tasks after the Sabbath Service

  • For our frequent speakers, apply a thumbnail from the Speaker Photos folder in OneDrive.
  • For other speakers, extract a photo of the speaker from the video stream to use as the thumbnail.
  • Add to any relevant playlist(s) (e.g. HFSDA Weekly Services, HAS Events, Special Event).
  • Check for any potential copyright impact. This may not be available for a few days while YouTube analyzes the content.
  • If a violation is found that makes the video unplayable, it will need to be edited and the segment(s) that caused the violation need to be silenced or trimmed out. This can be done in YouTube Studio.

Links

Harrisburg First Seventh-day Adventist Church
Privacy Overview

This website uses cookies so that we can provide you with the best user experience possible. Cookie information is stored in your browser and performs functions such as recognising you when you return to our website and helping our team to understand which sections of the website you find most interesting and useful.